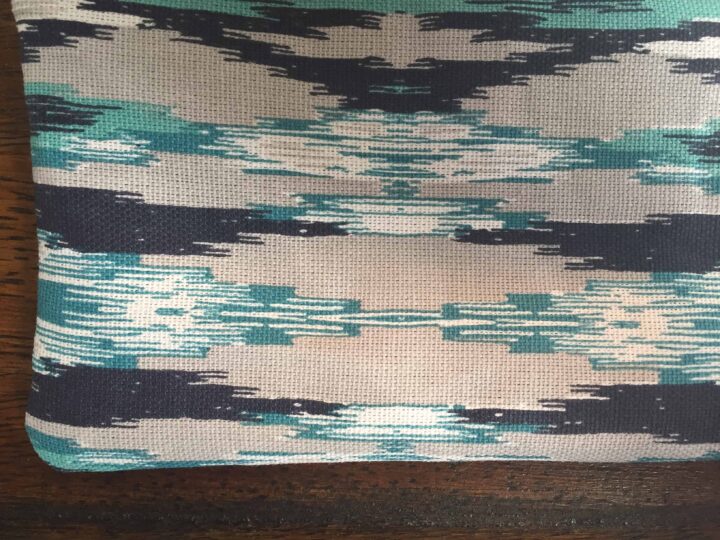
I am one of those girls that is perpetually chilly. Like, a full on fuzzy-sock-loving, sheepskin-slipper-wearing, give-me-a-giant-cup-of-cocoa type of gal.
And for whatever reason, I can not focus or function when my toes are cold.
For this reason, I’ve grown super attached to what my family and extended family calls a “warmie” or a rice heating pad – basically a soft, fabric pouch filled with dried rice that you can warm up in the microwave.
I keep one on my lap or on my feet when I write (per the focus issue) and almost always take one to bed. It’s also a lovely comfort when you’re sick or feeling stressed.
I’ve probably cycled through 7 or so warmies since gradeschool. I always have one. And today, my trusty warmie died…

I KNOW RIGHT?! Poor thing was worn thin from use and the corduroy was just bursting at the seams. So. This afternoon I’ve taken on the task of salvaging the rice from my old warmie (may he rest in peace) and making it into a new one that I hope will last for years to come!
It’s been a great little Zero Waste upcycling project.
This is a great example of taking something old and broken and re-making it into something brand new. Don’t give up on your things!
And now, without further ado, I give you my Reusable Rice Heating Pad Tutorial. Enjoy!
How to Make a Reusable Rice Heating Pad
(Find printable how-to instructions below)
Materials
- Fabric of your choice (approx. 12 inches square)
- Dried white or brown rice
- Cutting mat
- Measuring tools
- Pins and thread
- Sewing machine
- Optional: essential oil
Step 1: Pick out your fabric.
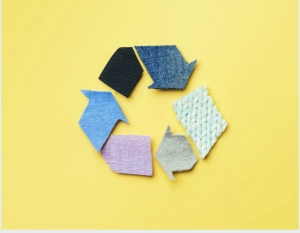
Select a fabric that will hold up to lots of wear and tear. You’ll be putting this in the microwave, so ensure that the fabric is made of 100% natural fibers (cotton, or something similar) and that it is relatively weighty. Mine is an upholstery fabric that feels almost like canvas. Corduroy is also a great option!
Plus, it’s soft. You’ll only need one square foot or so. My warmer is approximately 14 inches long, and 4 inches wide.
Step 2: Cut your fabric to size.
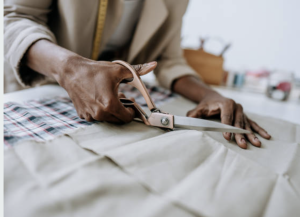
Cut your fabric to size. You should have a single piece that is the length you want, but twice as wide (you’ll be folding it in half). I used my cutting mat and roller to cut a piece approximately 15 inches long and 8 inches wide.
I chose not to worry about seam allowances, since the finished product doesn’t really need to be any exact measurement. Assembled, it ended up around 14 inches long and 4 inches wide.
Step 3: Assemble and turn right-side out.
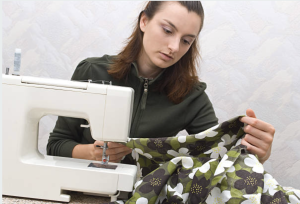
Fold your fabric in half, right-sides together (pretty side in), “hot dog style” or lengthwise. It should look like a long rectangle, the shape you want it to be when you finish.
Sew along the short top and long side only. You’ll want to zig zag back and forth at the corners to prevent fraying, and leave the bottom short side fully open so you can pour your rice inside.
Step 4: Fill with rice.
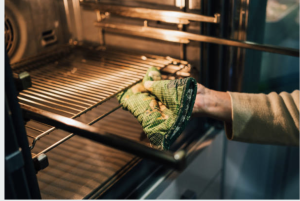
You should oven-dry your rice before using it, to prevent molding or moisture release. I didn’t have to go through this step this time around because I simply reused the leftover rice from my old warmer. I would suggest drying in the oven at a relatively low temperature (maybe 200-250 degrees) for a couple of hours. But watch it closely so it doesn’t burn!
Once your warmer is assembled and turned right-side out (pretty side out), use a funnel to pour the dried rice into your bag! Don’t fill it to the brim – leave some space for the rice to spread out a bit when you use it. For example, if you want to relax your neck muscles with the heat, you’ll want it to be able to fold down around your neck.
If you’re going to use essential oils, this is the time to drop them inside. Lavender is a lovely, relaxing choice.
Step 5: Sew shut and finish!
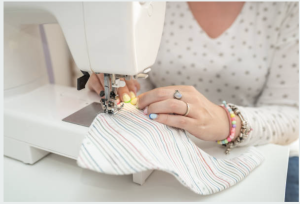
Looking at the open, unfinished end, turn the edges inside, pin, and sew shut. I chose to run two seams along the end, just to ensure that it was closed nice and tight.
As soon as you’re finished, you can use it! Just pop the heating pad in the microwave for 2 minutes or so at regular heat. The heat should last you quite a while, especially if you take it under the covers with you at night. Enjoy!
How We Use Our Rice Heating Pads
- Muscle Relaxation: These warmers produce a “moist” heat that is truly excellent for relieving muscle tension. If I have lower back pain or strain in my neck, this really does the trick. I also use it during “that time of the month” if I have bad cramps.
- Cold Nights: I don’t think there is anything cozier than taking a heating pad with you to bed. Place it under the sheets below your feet and it’ll ensure you stay warm through the night. I always sleep best with one of these.
- Headaches: Every headache is different, but I’ve found that one of these warmers heated at a low-ish temperature is very soothing. The weight of the bag also seems to help.
- Cold/Flu Recovery: You know that muscle ache you get with a really bad cold? This will make all the difference, trust me.
Possible Variations
- Use an old knee-high sock or pillowcase. Look around your house, keeping your eyes open for old items that need some new life. Just about any textile will do!
- Make a u-shaped warmer. If you’ll be using this on your neck a lot, you can easily cut your pieces into a u-shape – similar to an airplane pillow.
- Make minis to keep your hands warm. Make little reusable warmers, approximately 3 inches square to sneak into your gloves or boots on a cold day. Perfect for football season!
Reusable Rice Heating Pad Tutorial
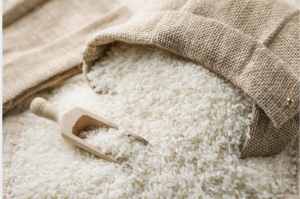
A great reusable and upcycled rice heating pad that can be used for muscle relaxation, keeping warm, to relieve headaches and to assist in cold & flu recovery.
2 hours
30 minutes
2 hours 30 minutes
Medium
$5
Materials
- Fabric of your choice (approx. 12 inches square)
- Dried white or brown rice
- Optional: essential oil
Tools
- Cutting mat
- Measuring tools
- Pins and thread
- Sewing machine
- Oven
Instructions
- Dry out your rice in the oven (at 200-250) for 1-2 hours prior to starting this project.
- Pick out your fabric – natural fibers are best as you’ll be warming it often. Make sure it’s a sturdy fabric.
- Cut your fabric to size. 15 inches long and 8 inches wide.
- With the fabric inside-out, sew along the bottom and length of the fabric.
- Turn the fabric the right way around and fill with rice – but leave enough room for the rice to move around a little.
- Add essential oils if you’re using them.
- Turn unfinished ends inwards and sew your rice pad shut.
Notes
You can reuse fabrics you already have laying around the house for this project.
Get creative – make a u shaped neck pillow or hand warmers instead!
Have you tried this rice heating pad tutorial? Post pictures of your finished “warmies” and make us proud!

