There are few things I love more than sitting down with a pile of rejected materials and turning them into something beautiful.
Remember those collages you made out of outdated magazines as a kid in grade school? Well, that’s what we’re making today!
Over the past few months, I’ve been collecting all sorts of pretty paper scraps – old magazines, little bits of wrapping paper from Christmas, and lightweight cardboard – with the intention of making upcycled Valentine’s day postcards.
Well folks, that day is here! Here’s how it’s done.
Upcycled Valentine’s Day Postcards
This is the kind of craft that you need to do with your favorite weekend jams playing over the speakers and a big ole’ latte by your side. Have fun!
Step 1 | Gather Your Materials
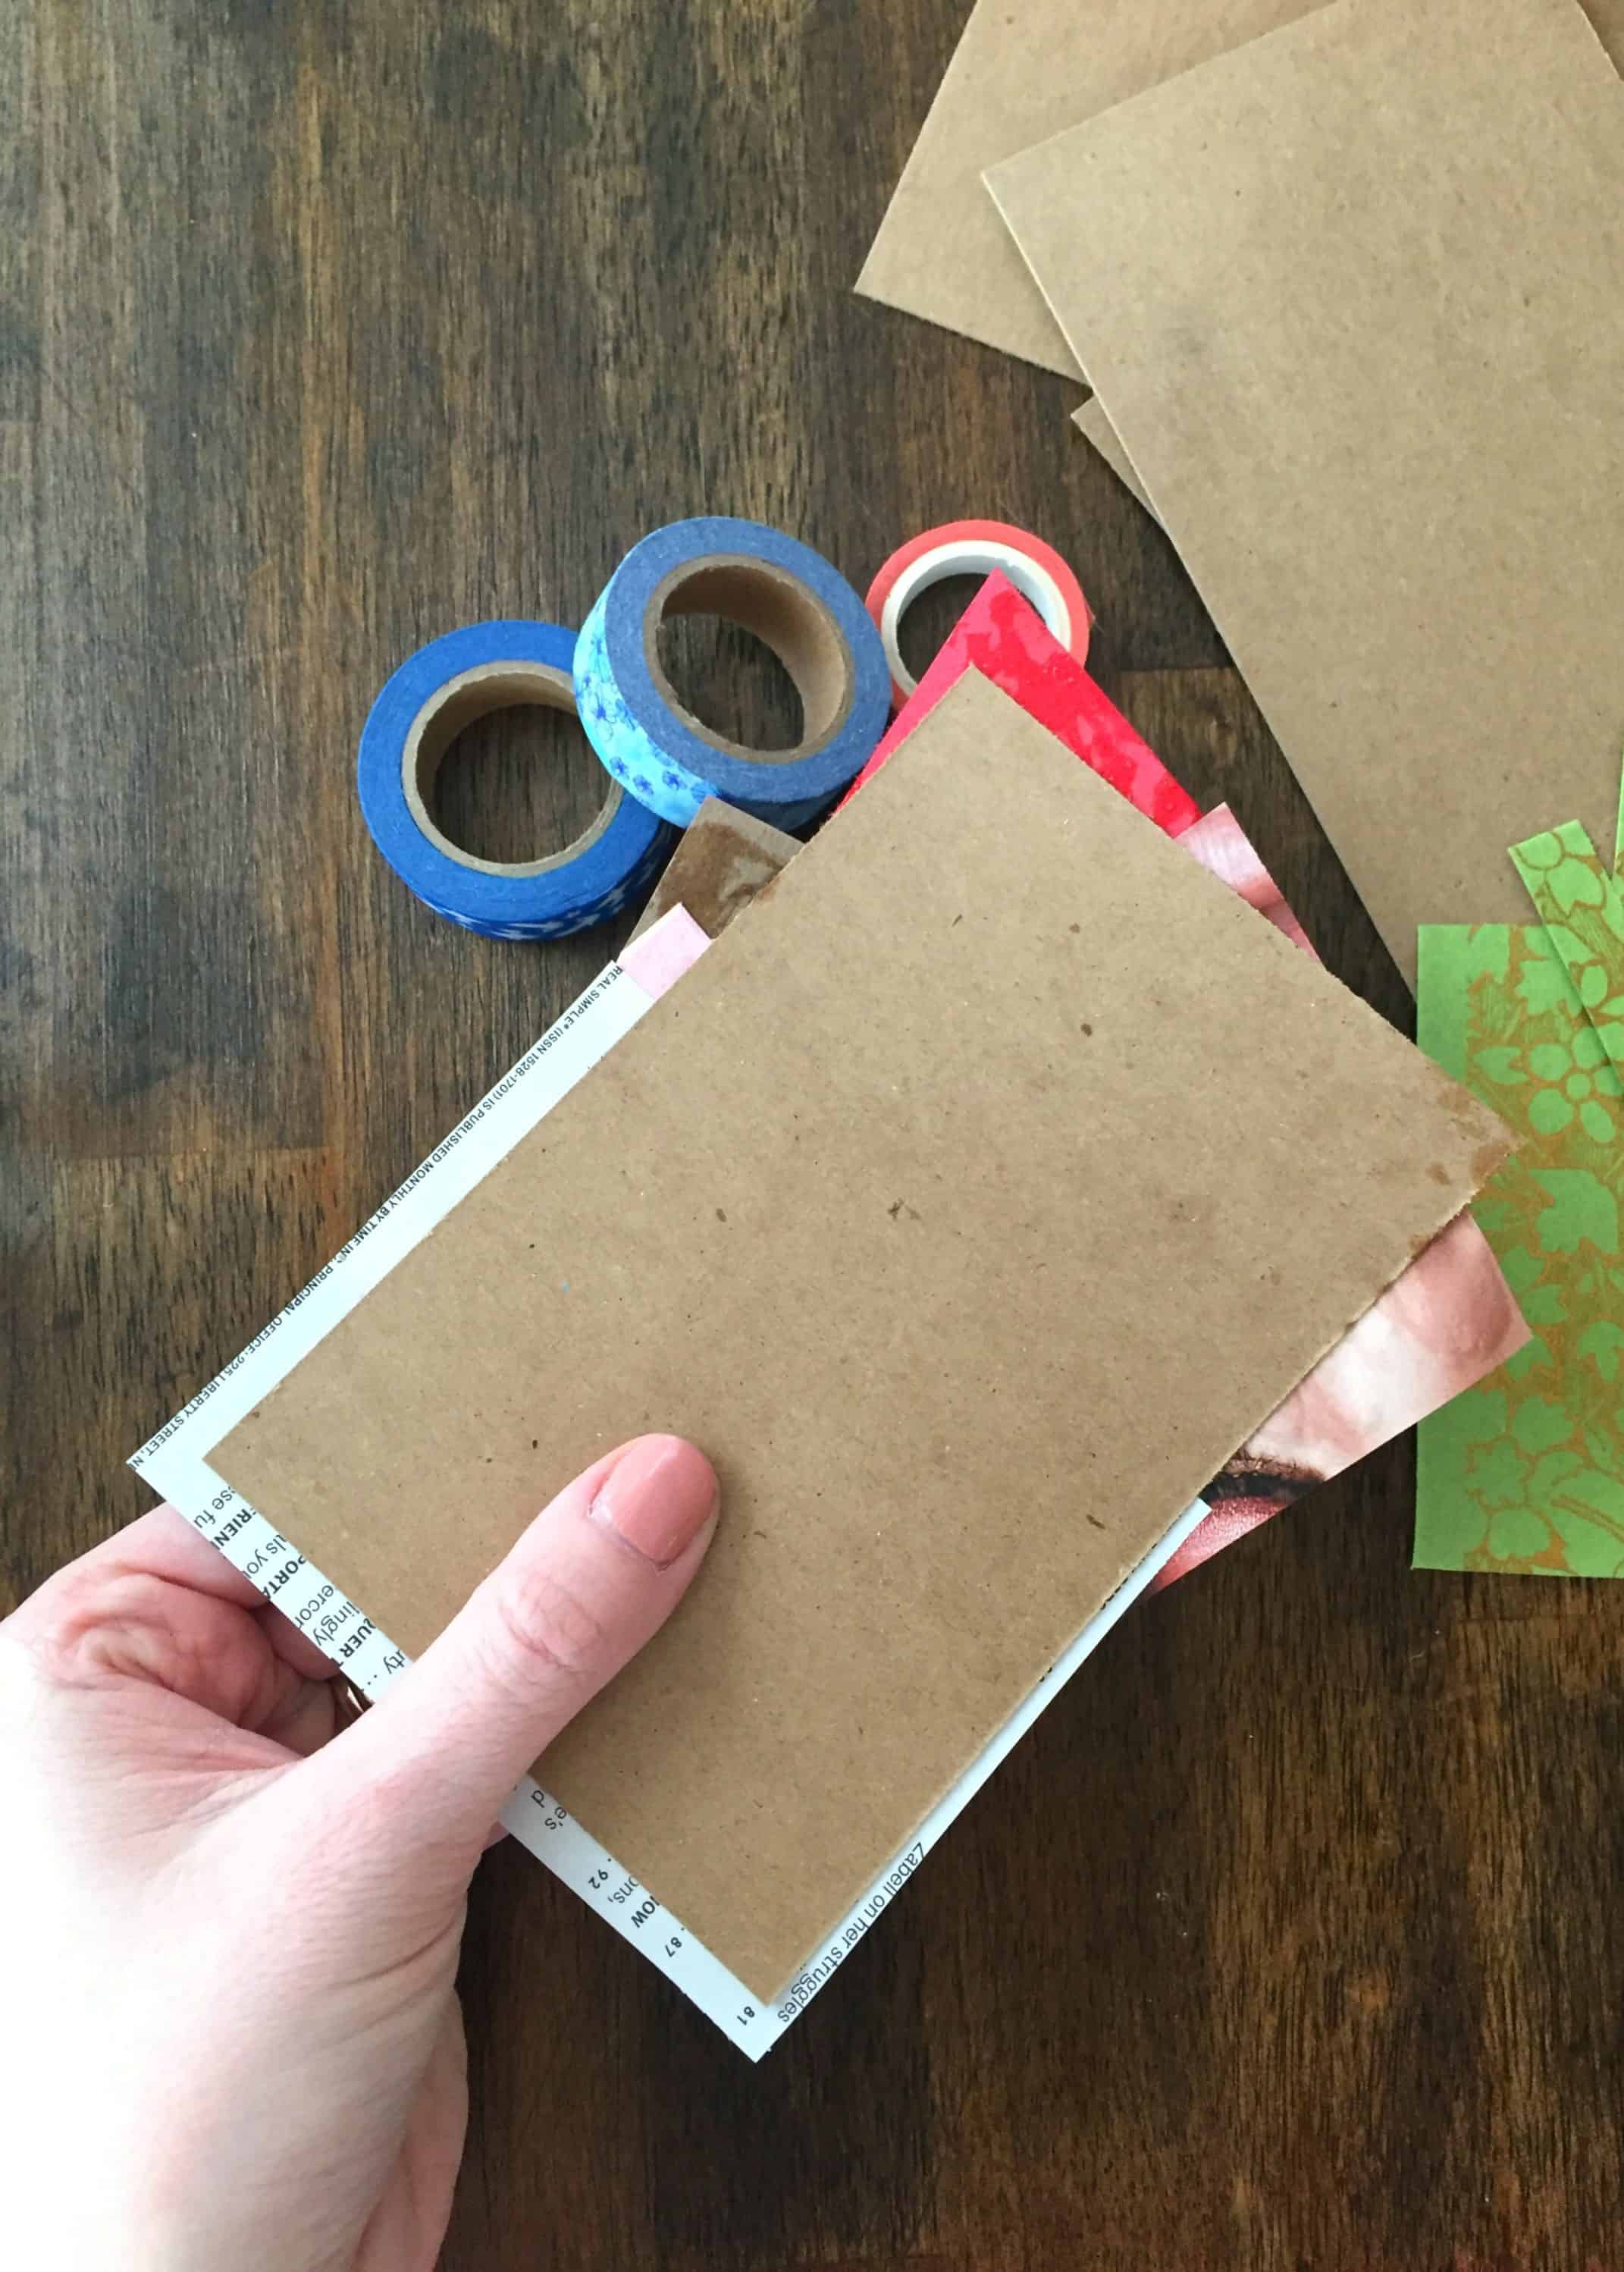
Start by gathering up any scrap paper and lightweight cardboard that you can find. I was able to scrounge up an old magazine from a subscription I recently canceled, old wrapping paper, and some cardboard backing from a shipment I received a while back. Anything works!

Here’s a full list of what you’ll need:
- Lightweight cardboard (make sure it cuts easily; avoid corrugated)
- Scrap paper (i.e. old magazines, wrapping paper)
- Scissors and/or paper cutter
- Glue stick or dissolvable adhesive
- Washi tape or any other additional embellishments you like
Step 2 | Cut Cardboard to Size
Next, you need to create your postcard base. You can use a standard paper cutter (or a pair of scissors if you can cut straight) to cut them to size.
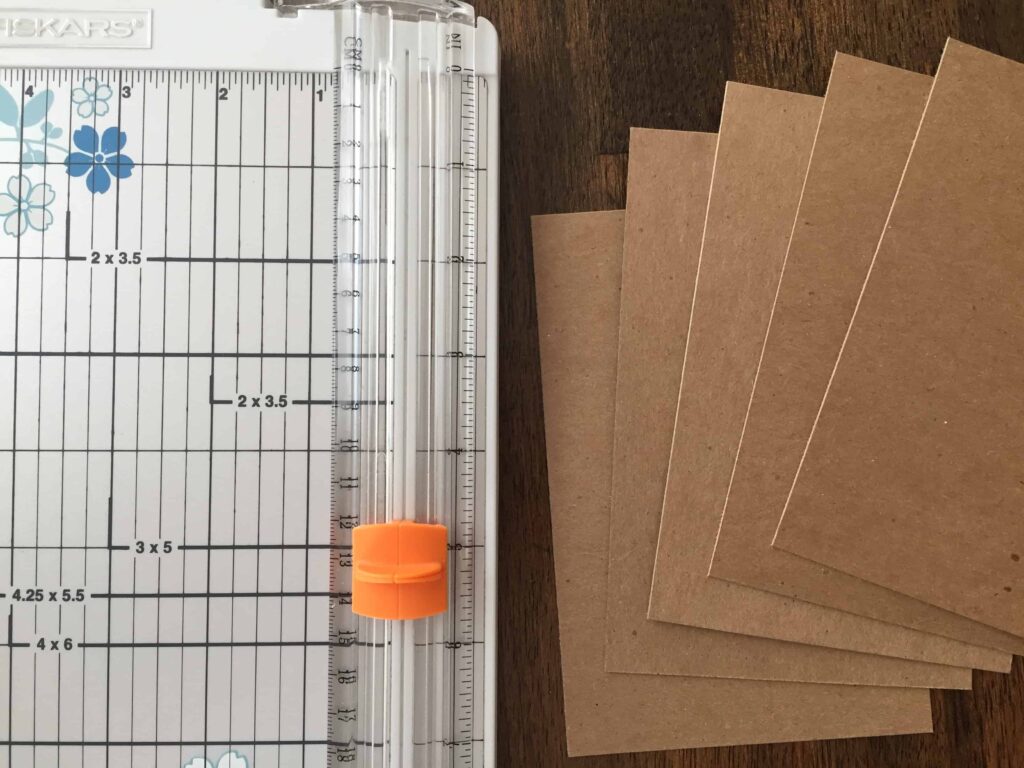

A standard USPS First-Class Mail postcard should be at least 3 1/2 inches high by 5 inches long, but no more than 4 1/4 inches high and 6 inches long. They cannot be thicker than 0.016 inches thick. I chose to cut my cardboard postcards to an easy 4 x 6, to keep things simple.
Step 3 | Design Your Postcard
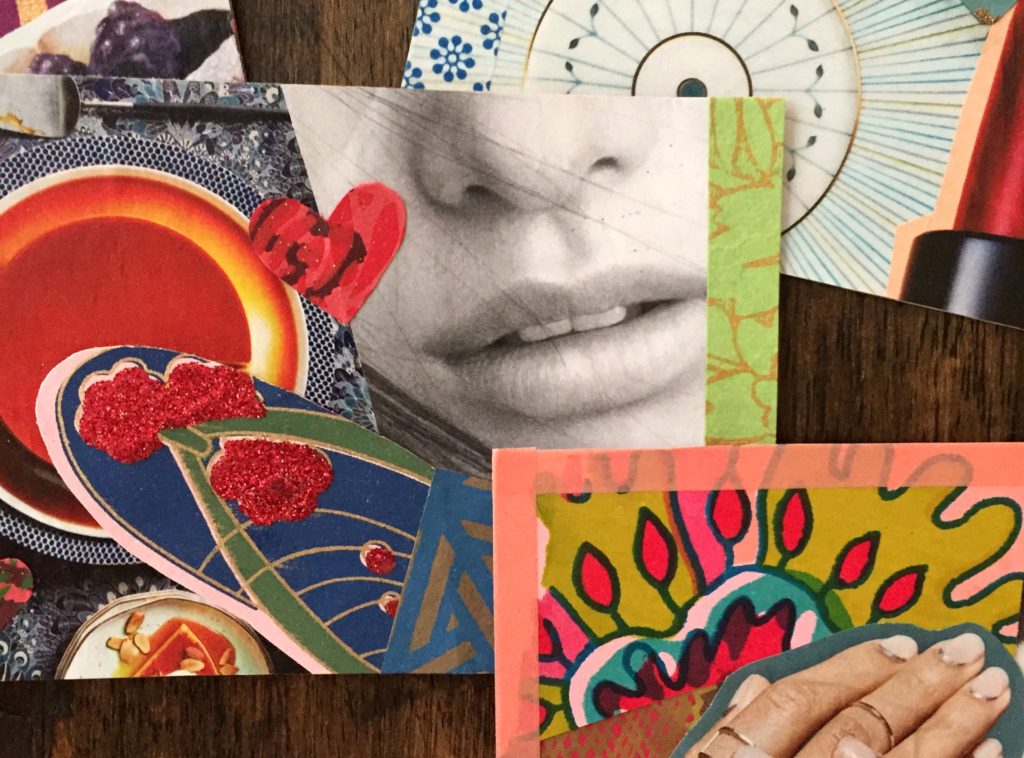
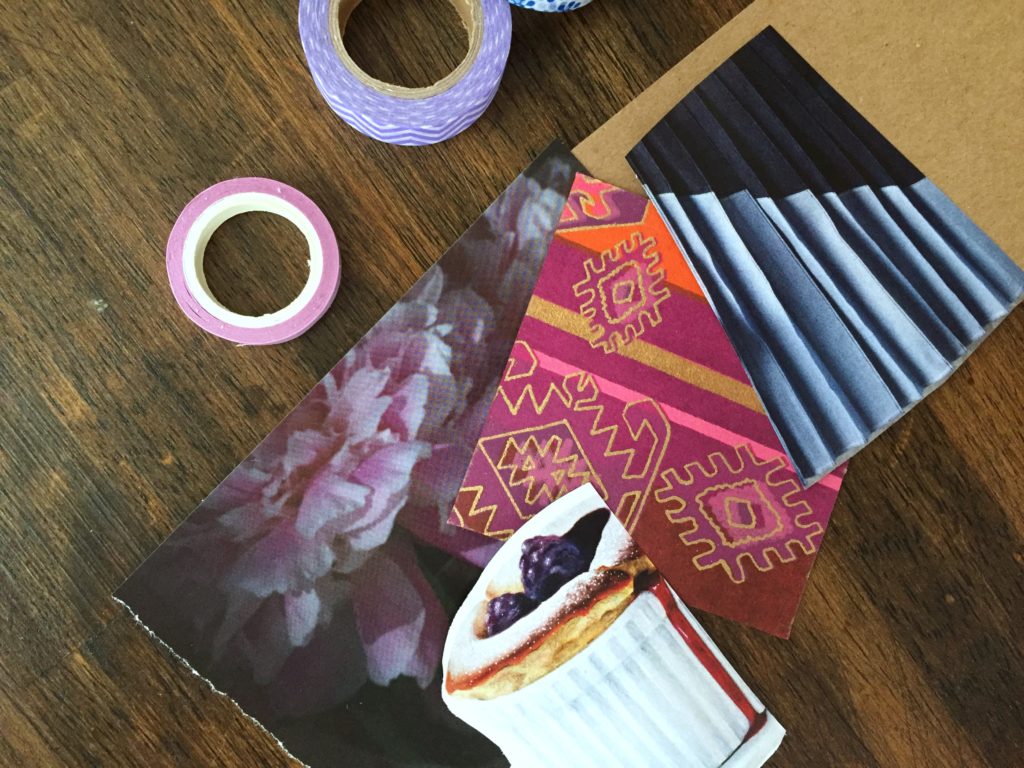
Once you have your postcard bases cut to size, begin assembling the artsy pieces you’d like to use on each postcard.

I was really intrigued by the global porcelain patterns and portraits I found in my magazine. No, the images aren’t your standard red hearts and lace, but I really love them!
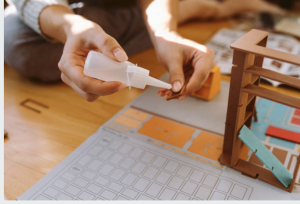
Step 4 | Arrange and Glue
This is the fun part! Once you have an idea of how you’d like to see your Valentine’s Day postcards laid out, start gluing pieces. Trim the edges.

 Wait a few minutes for the glue to dry before trimming. Wet magazine paper can be hard to cut without tearing.
Step 5 | Add Embellishments
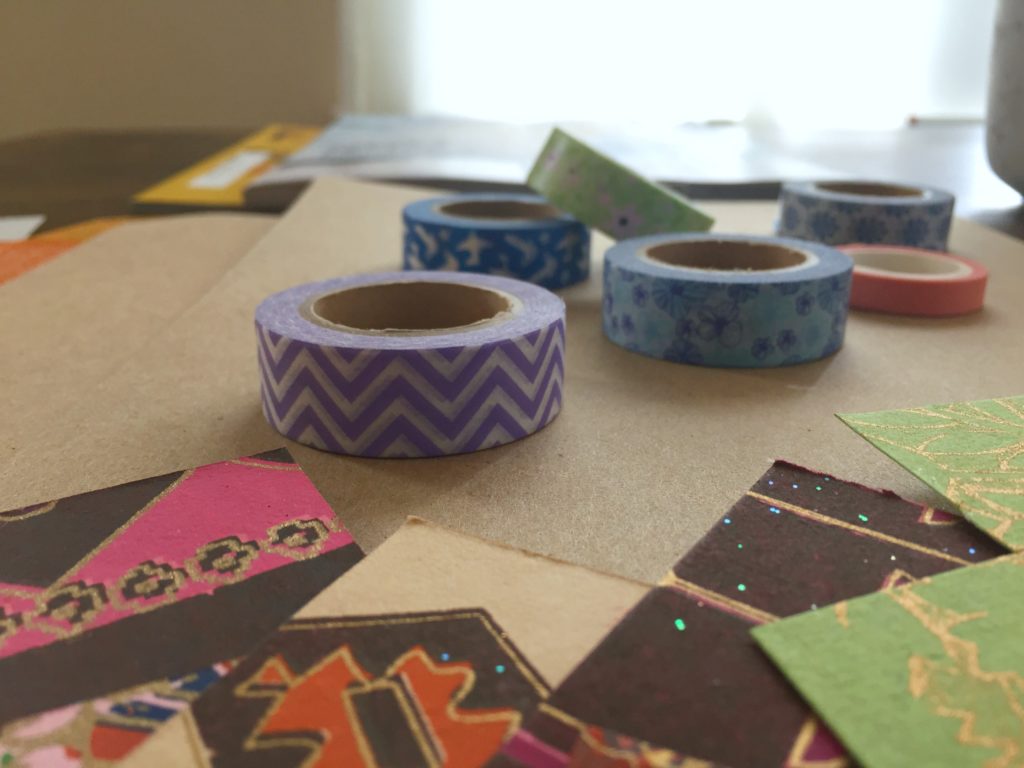
I have a really fun collection of washi tape in my craft supplies. I found them to be a really fun, easy addition to my Valentine’s Day postcards.


I also took the time to cut out cute little hearts from my leftover papers and pasted them over the top of my design. You do you!