My zero waste skincare routine keeps my skin clean, clear and happy, all while package-free! Here’s what has been working for me.
Thinking about switching to a zero waste skincare routine intimidated me for a long, long time. I have very sensitive skin, so I’ve become pretty wary of trying new products and recipes.
Would I have a bad reaction? Would I develop blemishes? Would I have to deal with bad skin for the sake of buying plastic-free? Who knew what could go wrong! But I’m happy to say that the transition was actually much simpler than I anticipated.
Today, my zero waste skincare routine keeps my skin clean, clear and happy – all while package-free! Here’s what has been working for me.
This article may contain compensated/affiliate links. See our full disclosure here.
How I Keep My Skin Clean & Clear
First, a little backstory. I have been blessed with relatively blemish-free, combination skin. I rarely deal with acne (though a few uglies tend to rear their head during “shark week”) and I don’t deal with a lot of oil.
However, I am constantly fighting dry patches and redness. Maybe these things come with naturally sensitive skin, or maybe I should be blaming the windy weather of Wyoming. Regardless, those two issues keep me busy.
In the past, I’ve had some success with cream cleansers and antioxidant-rich serums, plus regular use of an exfoliating scrub. Here’s how I’ve replaced those conventional skincare products with zero waste alternatives.
Step 1: Makeup Remover
I have never found a better makeup remover than pure coconut oil. Hands down. It effortlessly takes off all my daily makeup, including the most stubborn of all: waterproof mascara.
Right now I’m using Dr. Bronner’s Organic Virgin Coconut Oil and I adore it. Bonus: this product is Certified Fair Trade!
You can buy it in recyclable glass and metal here.
Coconut oil also has “lipophilic” properties, meaning that it will get up close and personal with all the crap on your face and dissolve it. Oil dissolves oil. Technically any oil will do this, but I recommend sticking with plant-based oils (vs. a petroleum-derived mineral oil, for example).
To use it as a makeup remover, simply swipe a washable cotton pad or piece of cloth in the oil and brush over your face in small circles as usual. It feels amazing.
Step 2: Cleanser
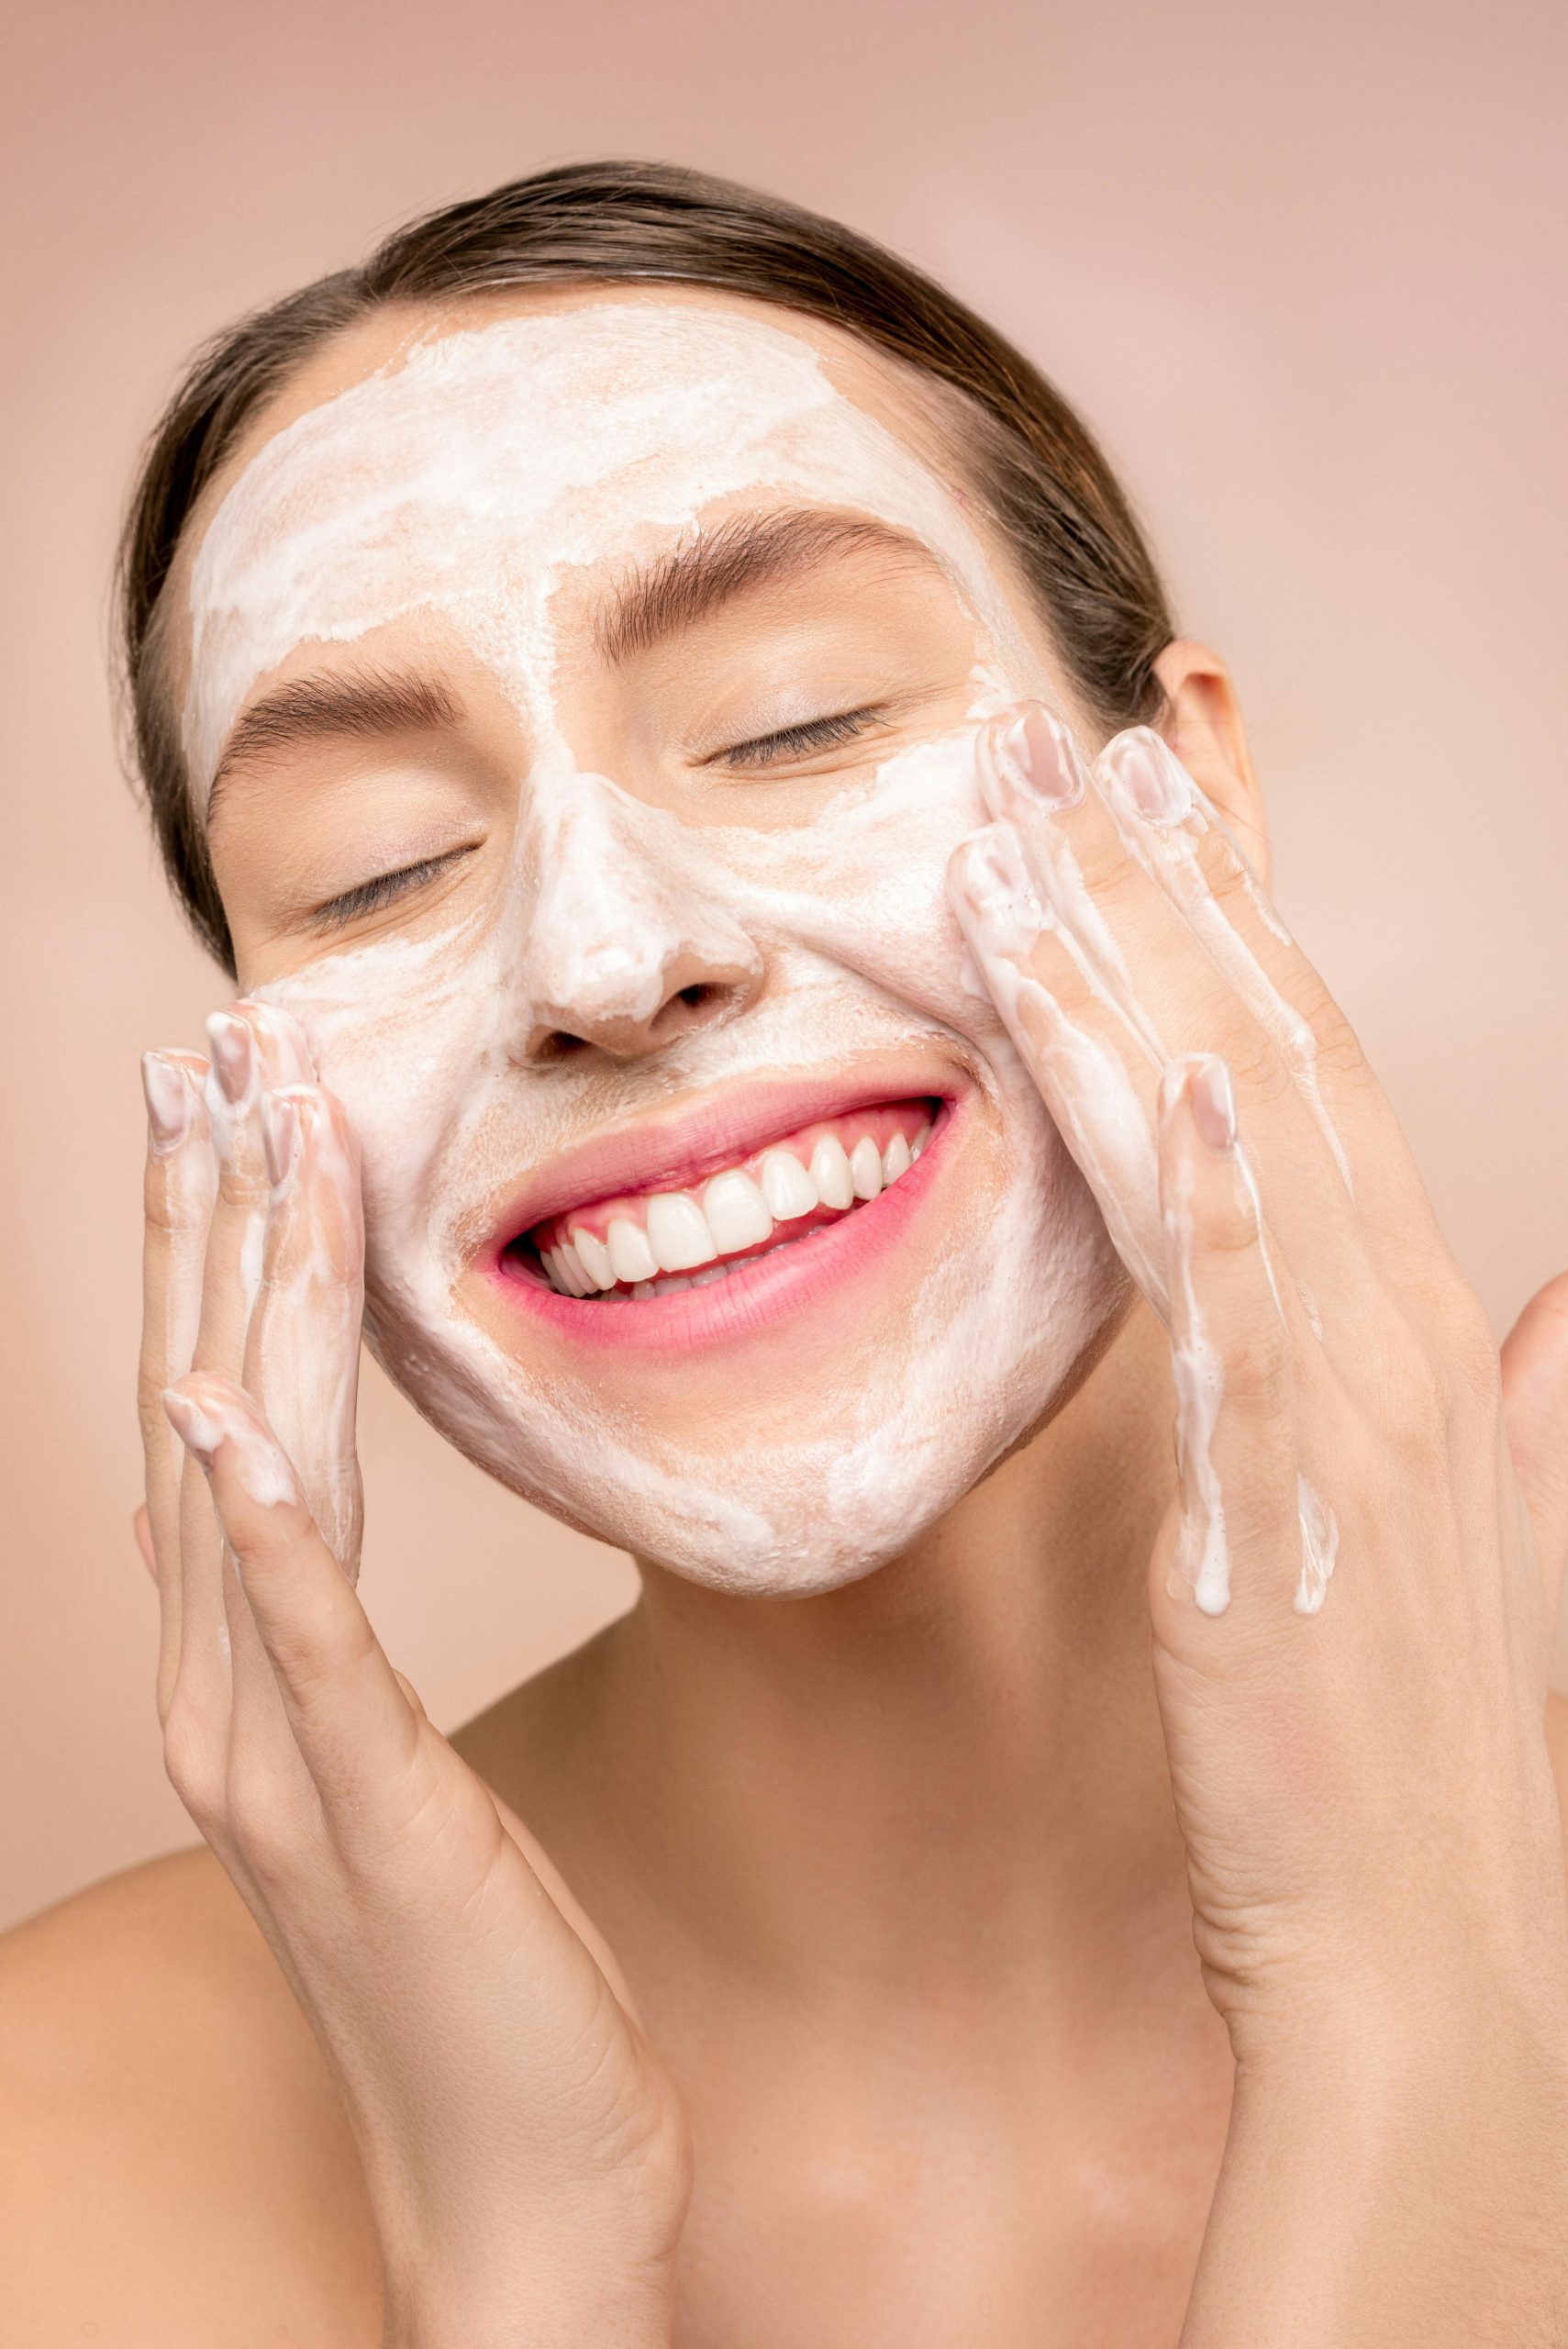
Switching to a raw honey face wash is easily one of the simplest zero waste swaps I’ve made thus far. Sound strange? It’s not, I promise!
Whenever I wash my face with a little dollop of honey my skin instantly feels softer. I’ve also noticed that, after patting dry, any blemishes I’m dealing with have shrunk in both size and redness.
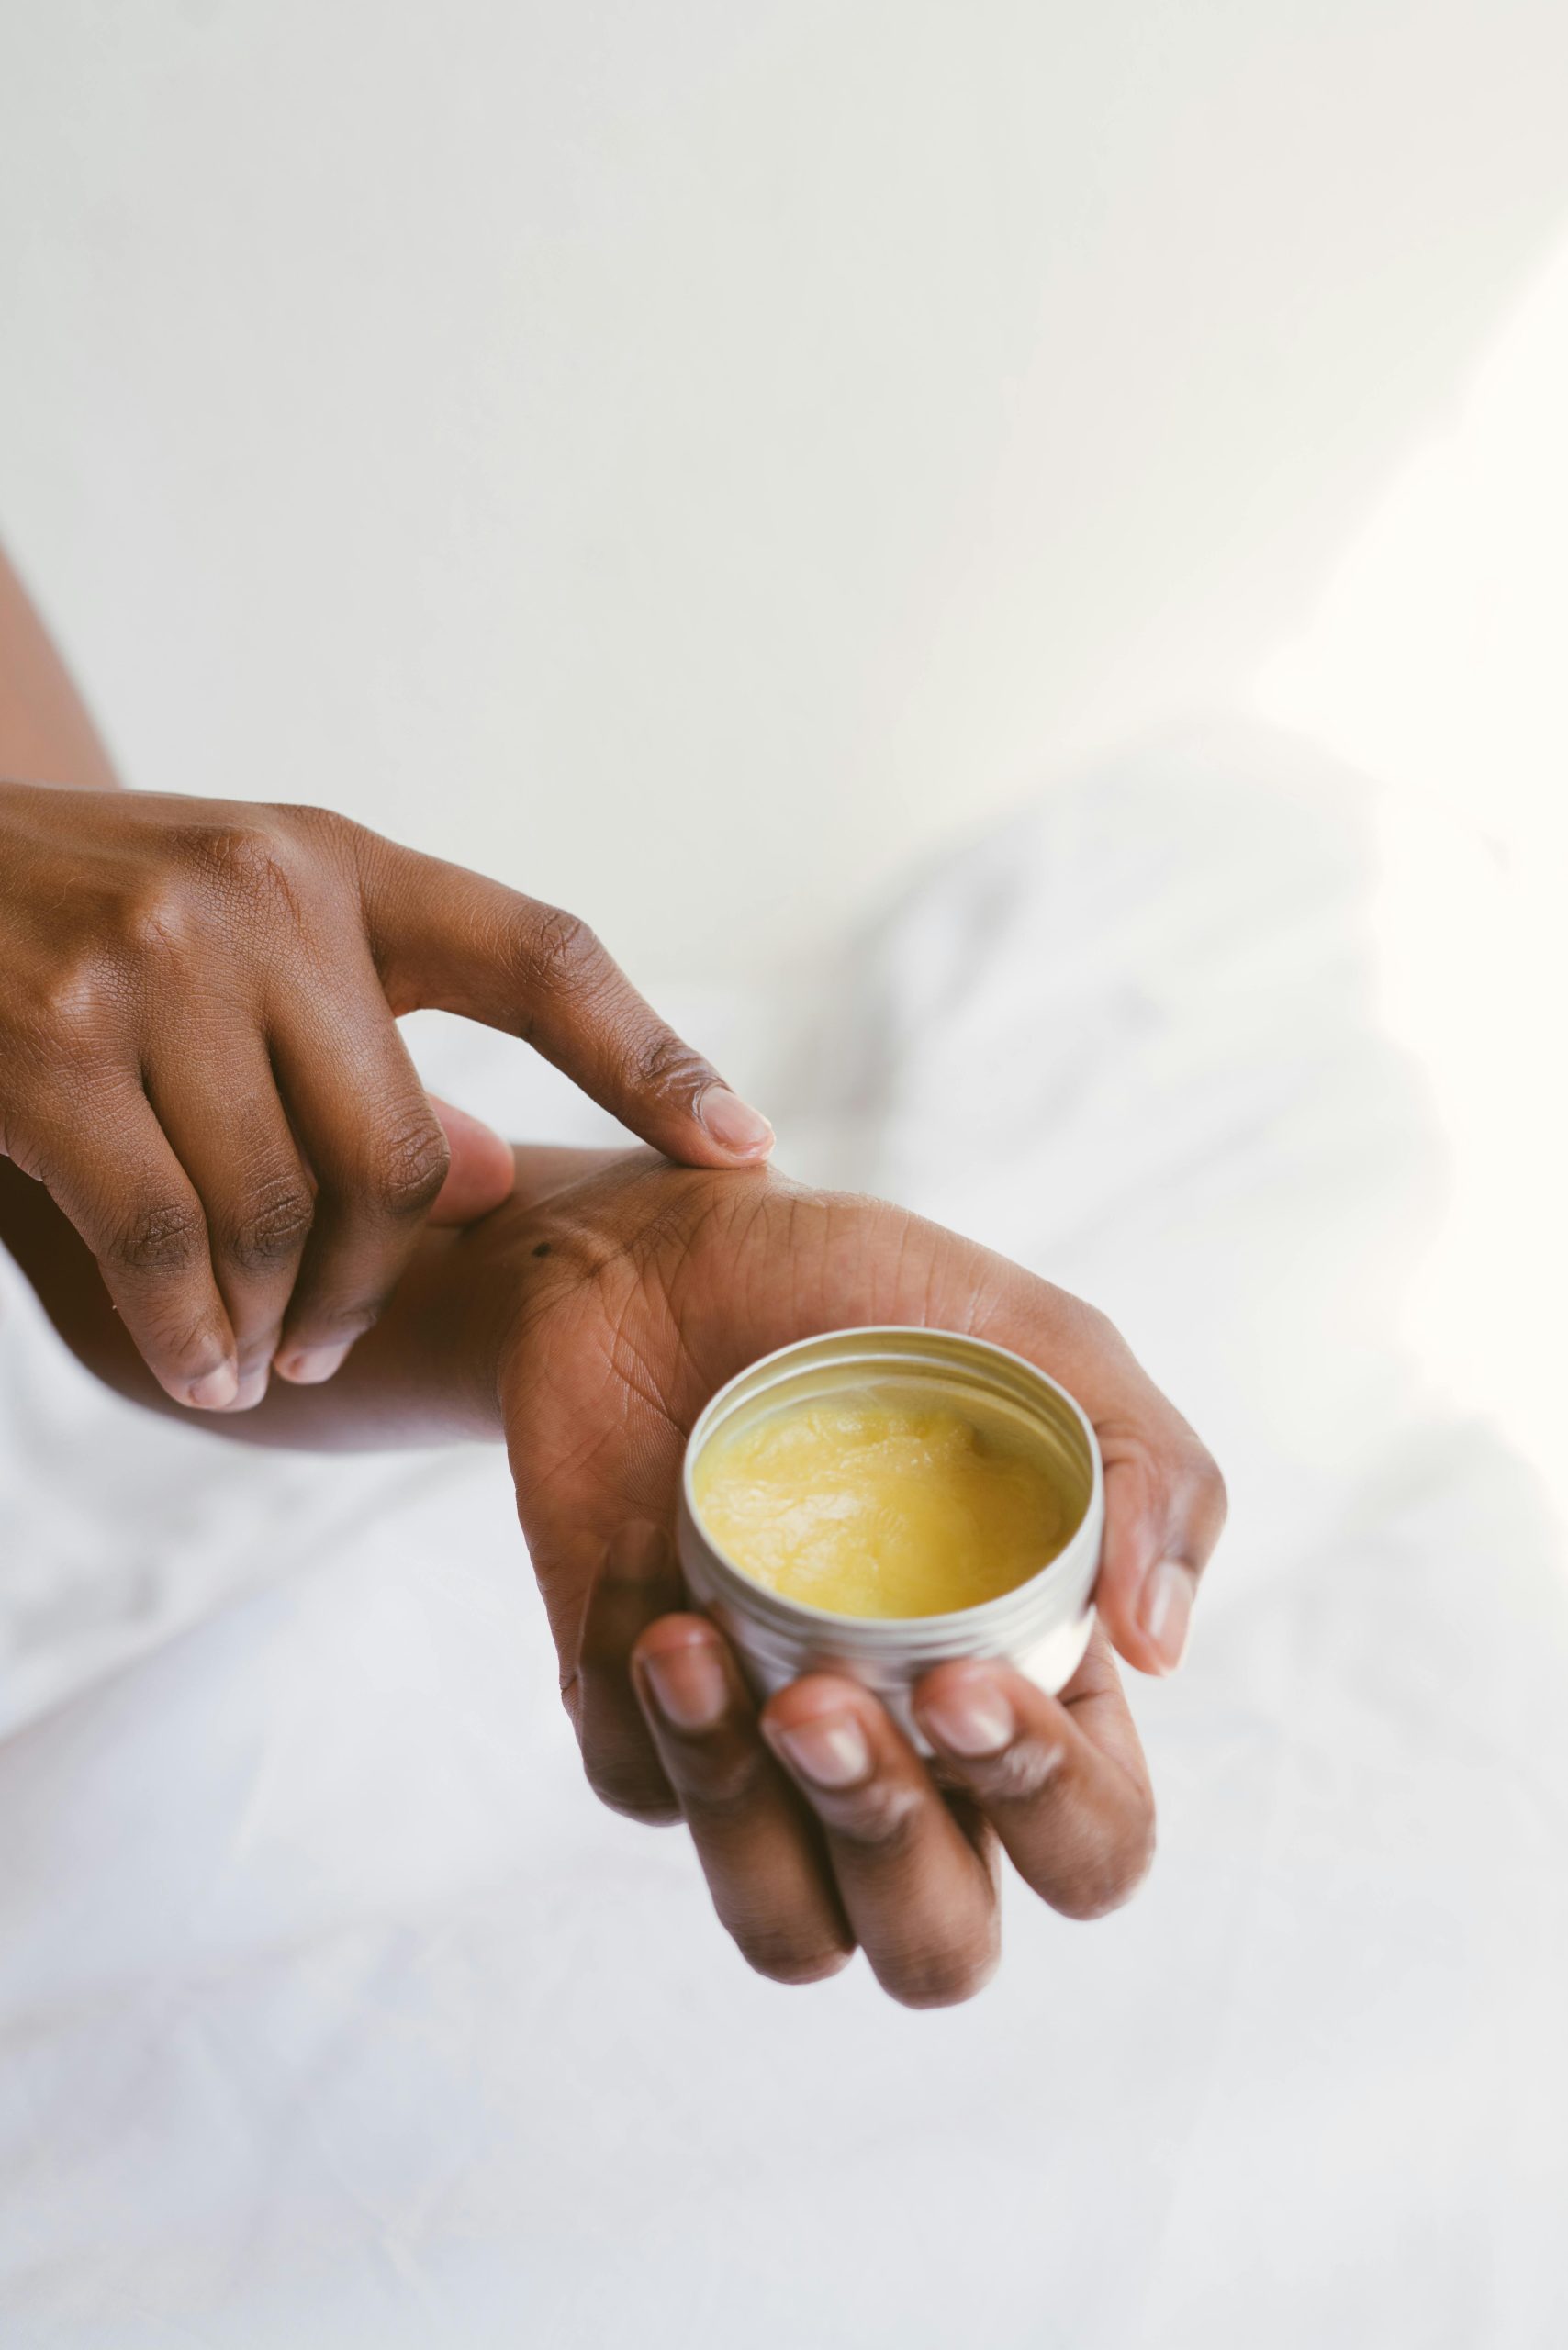
Honey is much gentler than soaps, which tend to strip the skin of beneficial oils that keep it in balance. Raw honey is also impressively antibacterial, which means it will fight any acne brewing under the surface and help cut bacteria on your face. You can even use it as a medicinal ointment!
Hey, I’m impressed. Here is the raw honey I am currently using and loving.
You can buy it here packaged in recyclable glass with a metal lid.
Step 3: Exfoliation
Now, back to the dry skin issue. I do my best not to over-exfoliate my skin. However, I have found that doing so once or twice each week does wonders for my uneven texture! When I exfoliate, I typically use one of these two recipes…
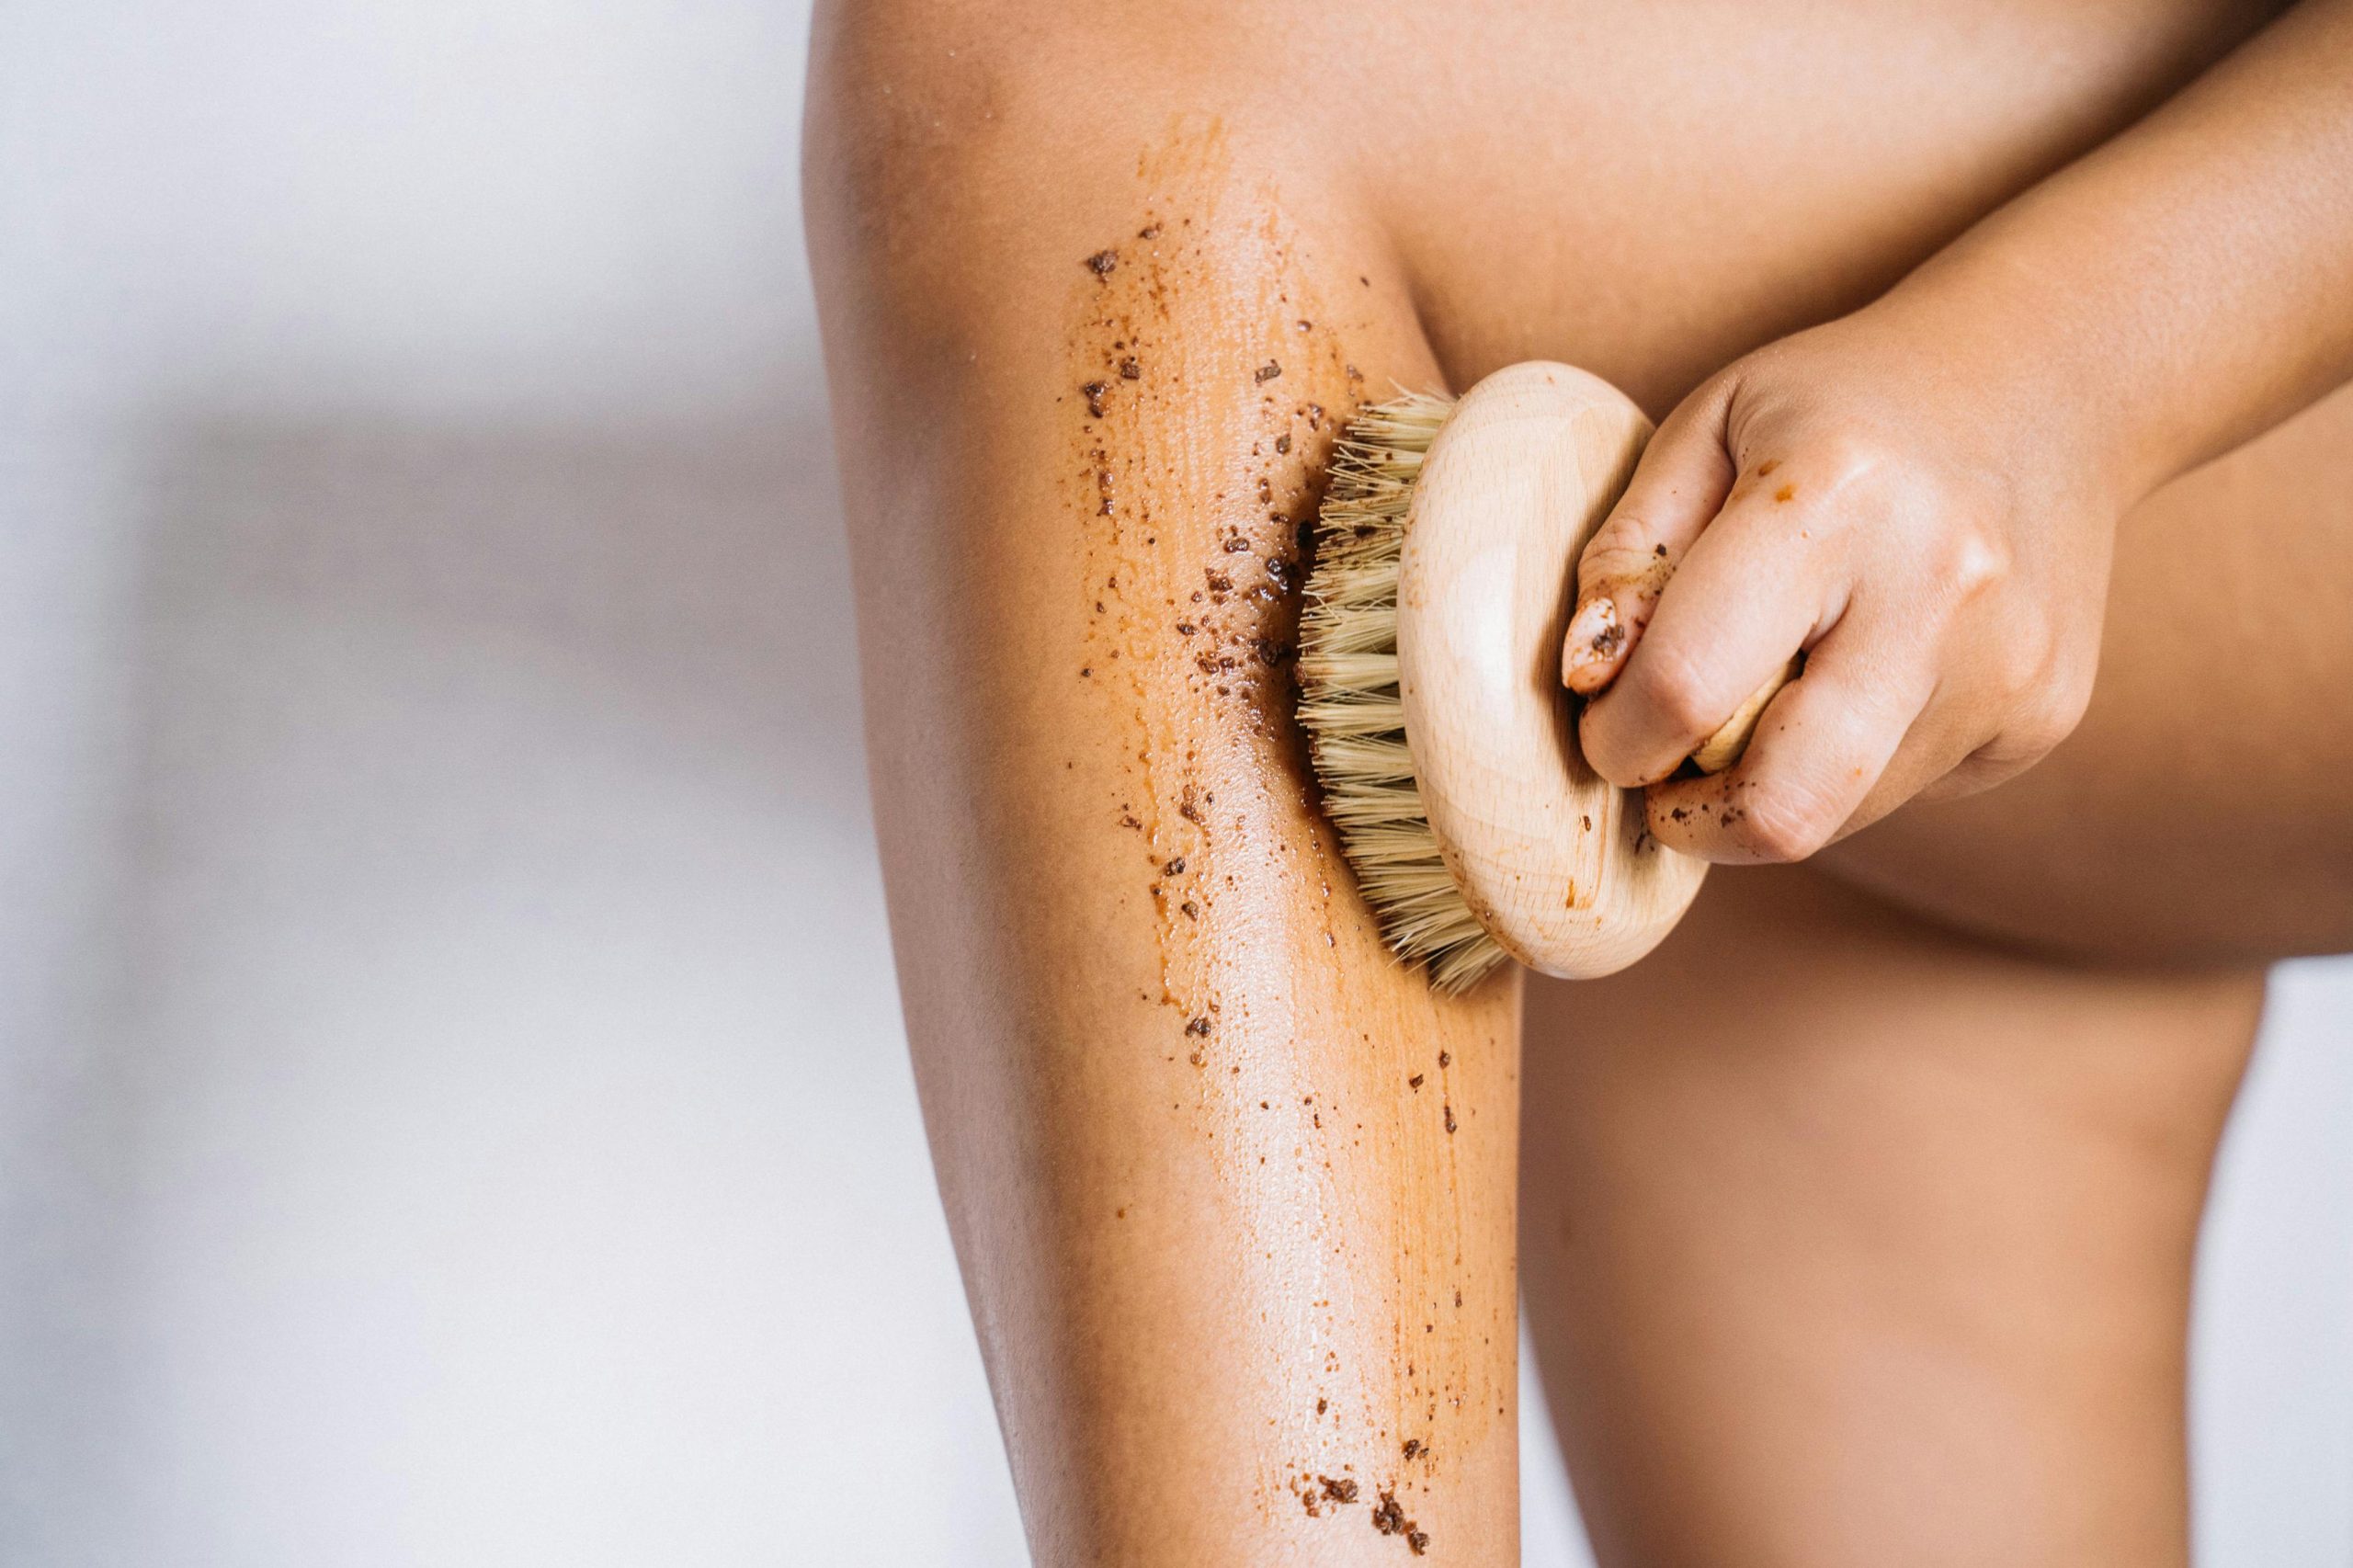
For deep exfoliation, I mix together a soft paste of granulated white sugar and raw honey with a little water. It’s an excellent option for the shower and makes a wonderful allover scrub.
For gentler exfoliation and a little stimulation, I make a paste from raw honey, turmeric and cinnamon. These three ingredients together are an antibacterial, exfoliating wonder. Try it!
Step 4: Toning
In the past, I never really saw the need for a toner. Mostly because I’m lazy, but also because I felt like cleanser and moisturizer were enough.
But lately, I’ve changed my tune! I make my own rosewater facial toner from rose water, witch hazel, apple cider vinegar, rosehip oil and lavender oil.
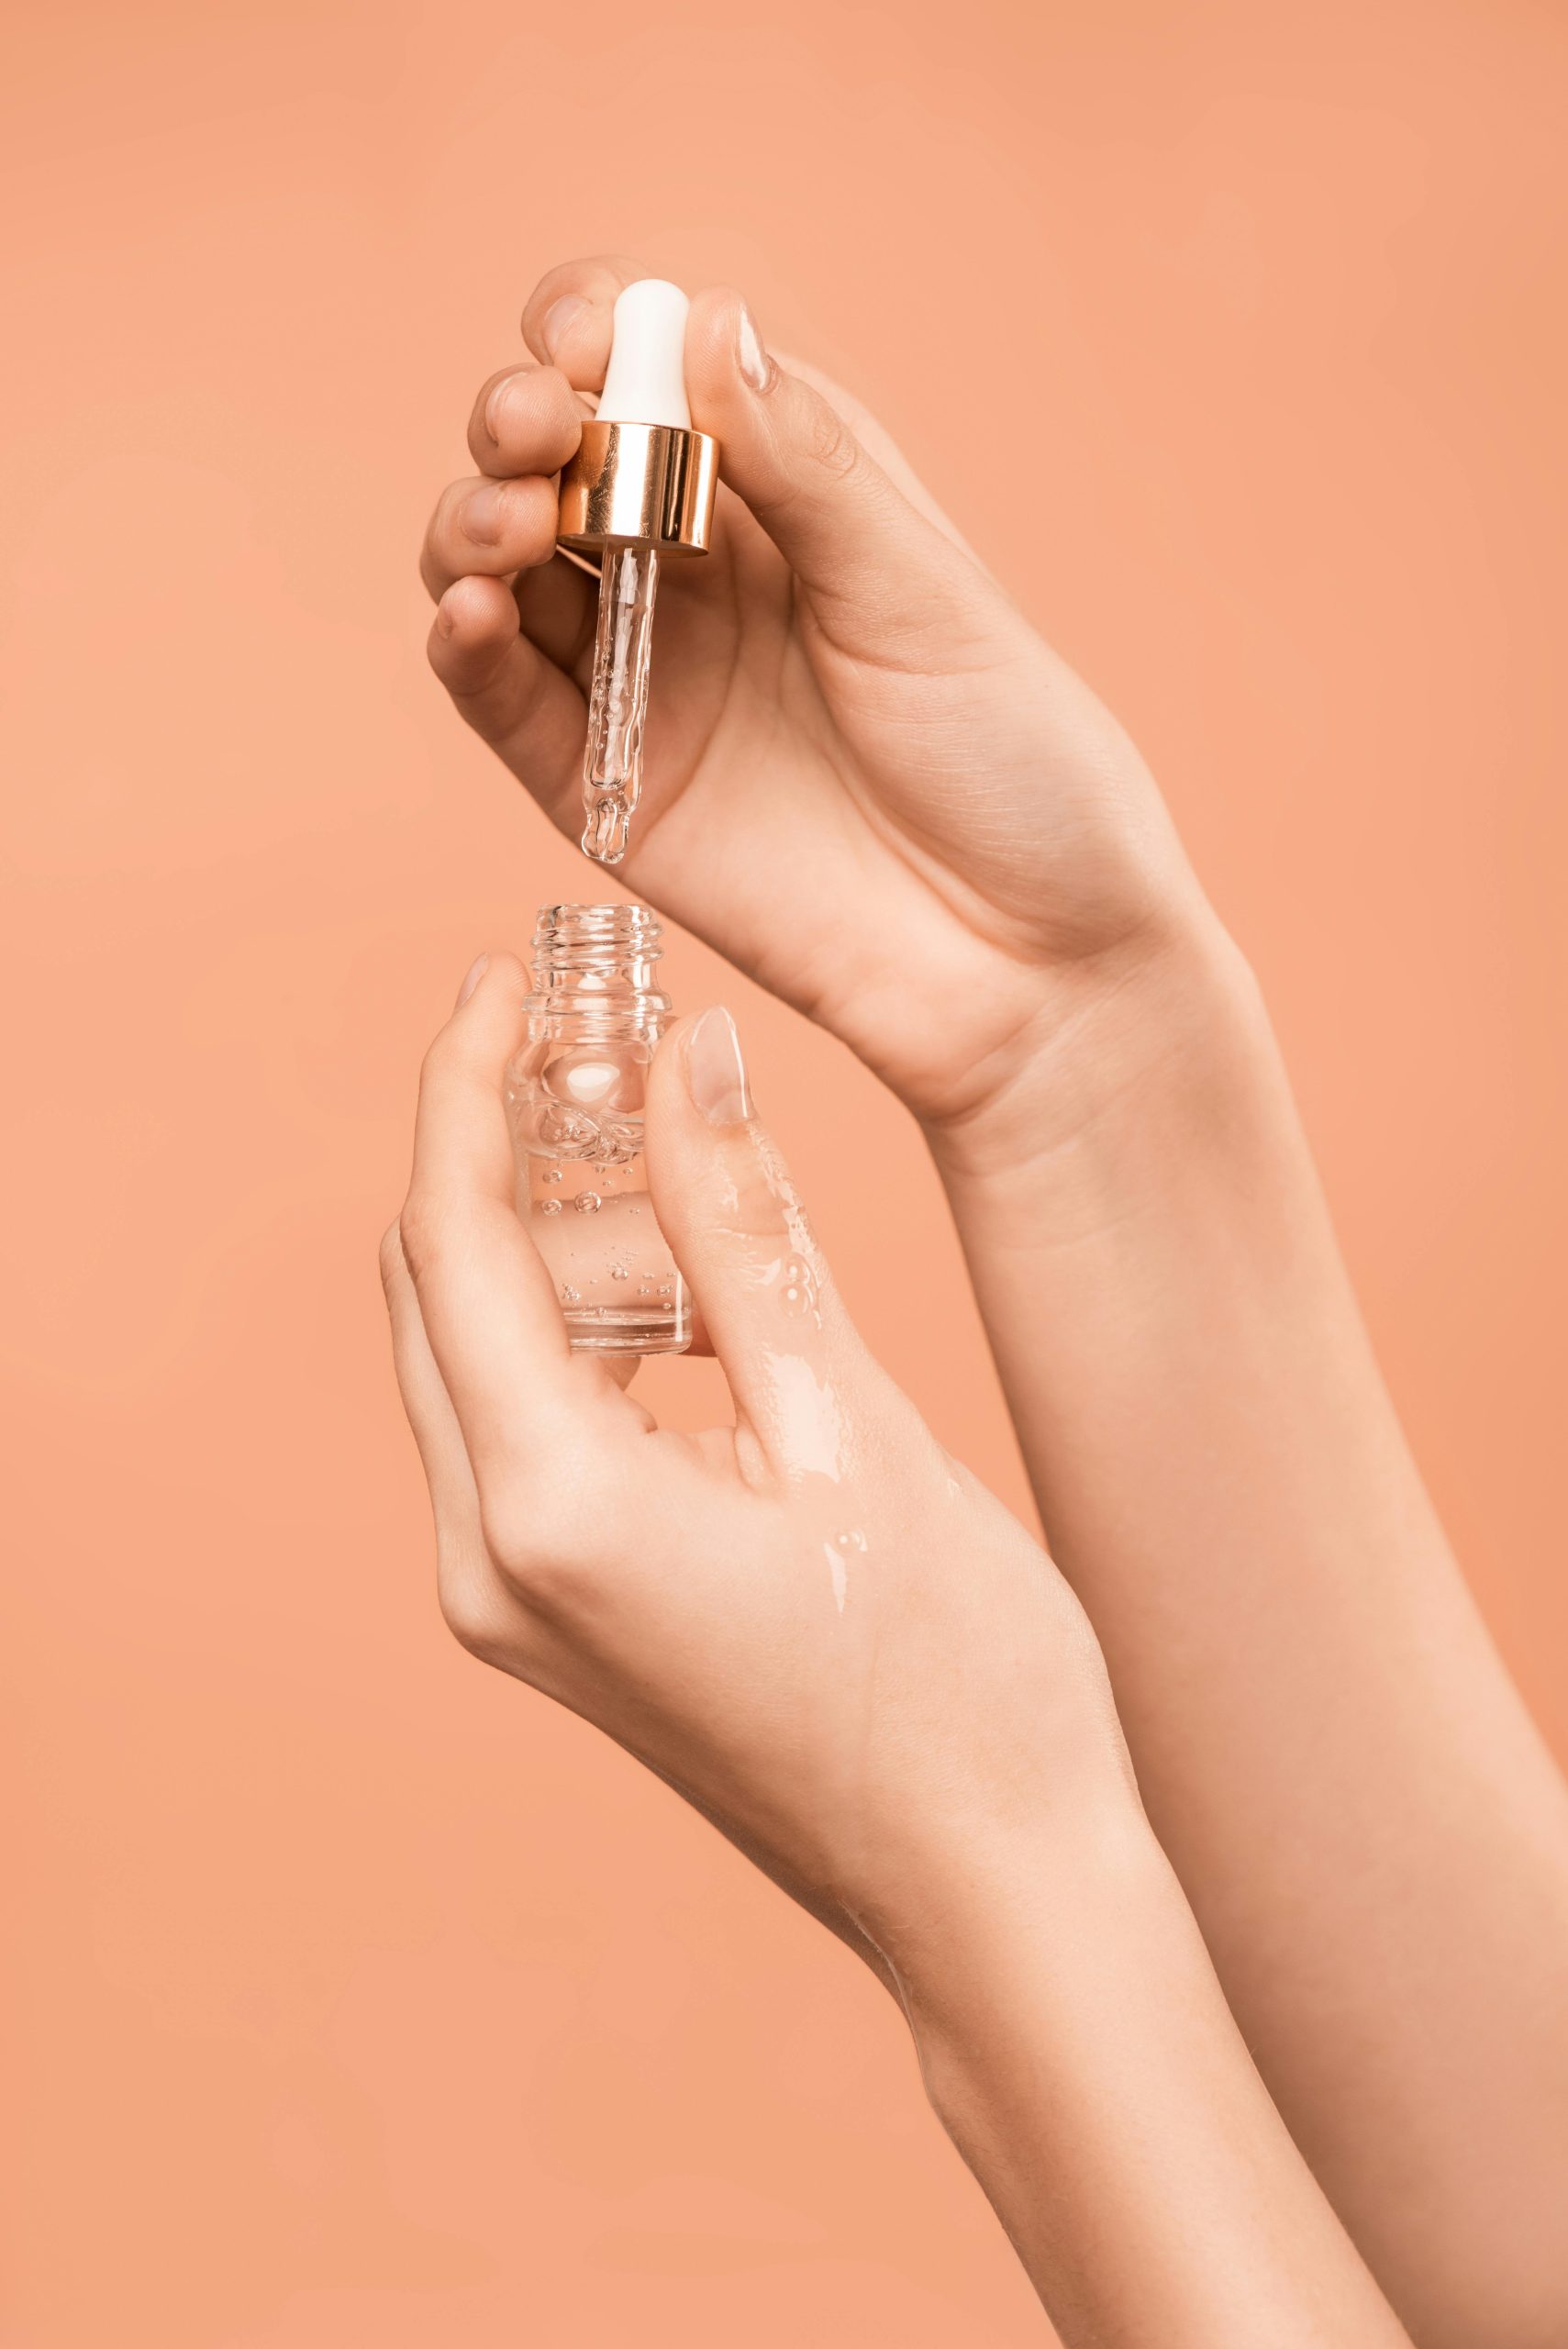
This means I can create a recipe that suits my needs, on my own terms, without any of the skin-damaging alcohols that I’ve found in most conventional toners today. I simply store it in the fridge to keep it fresh and use a spritz or two in the morning!
Step 5: Moisturizer
Moisture for me is key! It is for this reason that I’ve invested in a few key hydrating facial oils. My current favorites are: tamanu oil, avocado oil, rosehip oil, and the Brightening Face Oil blend by BeautyCounter.
Each of these oils keeps my skin happy and healthy. They absorb well, hydrate like nobody’s business, and help provide balance to my combination skin.

I also like to purchase Alba’s Very Emollient Unscented Original body lotion in bulk at our local co-op. It’s lightweight, simple, and safe to use!
You can find it in a big ole’ jug on Amazon, here.
To hydrate my skin in the morning, I usually mix 2-3 drops of the Beautycounter face oil with one pump Tamanu oil, and a dime-size amount of Alba lotion (shown above). This mixture is just what I need to keep my skin hydrated pre-makeup in the morning.
What are your tricks of the trade when it comes to skincare? I’d love to hear your secrets!
